The Biggest Secret to your photography skill set: Lighting!
Light is every photographer’s best friend and worst enemy. We’ve all been there at one time or another when we plan for a certain kind of light and due to forces out of our control experience another. As someone who is used to photographing while exploring/traveling, I have had many fair shares of mishaps when I plan to be at a specific location by a particular time. Elements are not in our control and overcast can occur, fog can roll in- torrential downpour can come from nowhere (and not even predicted!) Let’s face it, you need to be prepared and open minded. Sometimes even with the prediction of rainfall, I still move forward with a booked experience. Those risky times are also some of the most memorable and compelling imagery. More times than night the clouds open up and the most exceptional rays beam through the cloud line giving the most creative skies I have ever captured.
There are four types of light that every aspiring photographer should recognize: hard, soft, specular, and diffused. Differentiating between the four can be tough for the untrained eye.
What is the difference between direct and diffused light photography?
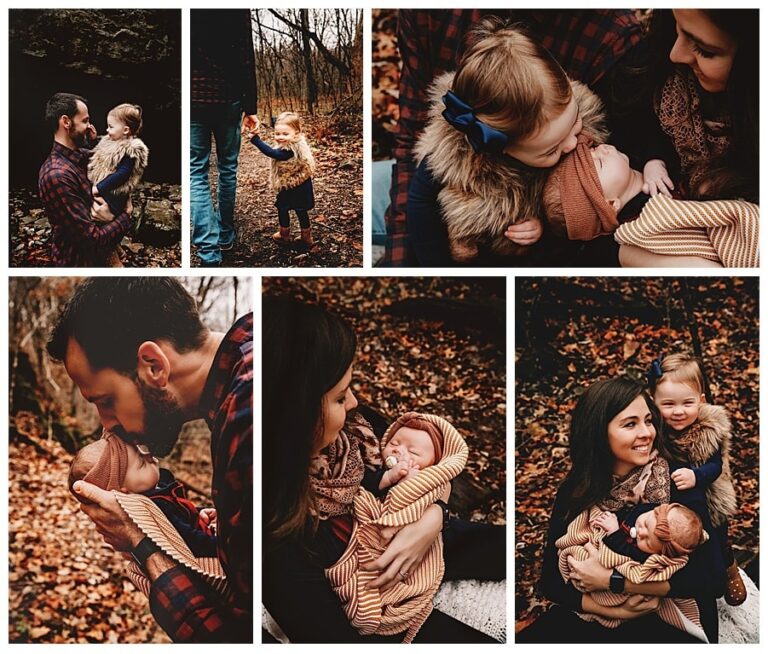
Light coming directly from a source to the subject will have dark shadows with a hard, defined edge. Diffused light passes through a semi-transparent material/object on the way from the source to the subject. Diffused light can also include specular light, this creates shadows with lower contrast and softer edges than direct light and the specular can have spot of actual direct light. This can come from trees and light still brightly shining through the limbs or leaves, or even from a window where the blinds create a pattern with the light.
The direct lighting method is a conventional approach that involves using a light source or naturally the sun directly onto the subject. Modifiers like softboxes, metal reflectors, or beauty dishes are often used to improve the light quality, but there are many problems associated with this approach. I do prefer direct lighting outdoors.
It took a few frustrating situations before I was able to shift my mindset for when things like this happen. And you know what? Bad timing, missed lighting, changes in lighting, you will all experience it. So instead of getting very upset and giving up hope of capturing any decent photos, change how you think of the situation. Approach it as a challenge, roll with the punches, and let your creativity get the best of you, utilizing the key component- how the lighting shines on or behind your subject.

Below you will find some tips on various lighting conditions to help master your settings and where your subject is placed:
Control the Light
- A great way to conquer direct sunlight is to go into the shade or create your own! If there is no natural shade, like trees in your area; getting lower than your subject and having them block the sun, also setting your aperture to 3.2 or higher can support the control of lighting. Another creative way is if there is a second shooter that can support holding up an umbrella or blanket etc to cast a shadow on your subject.
Use It
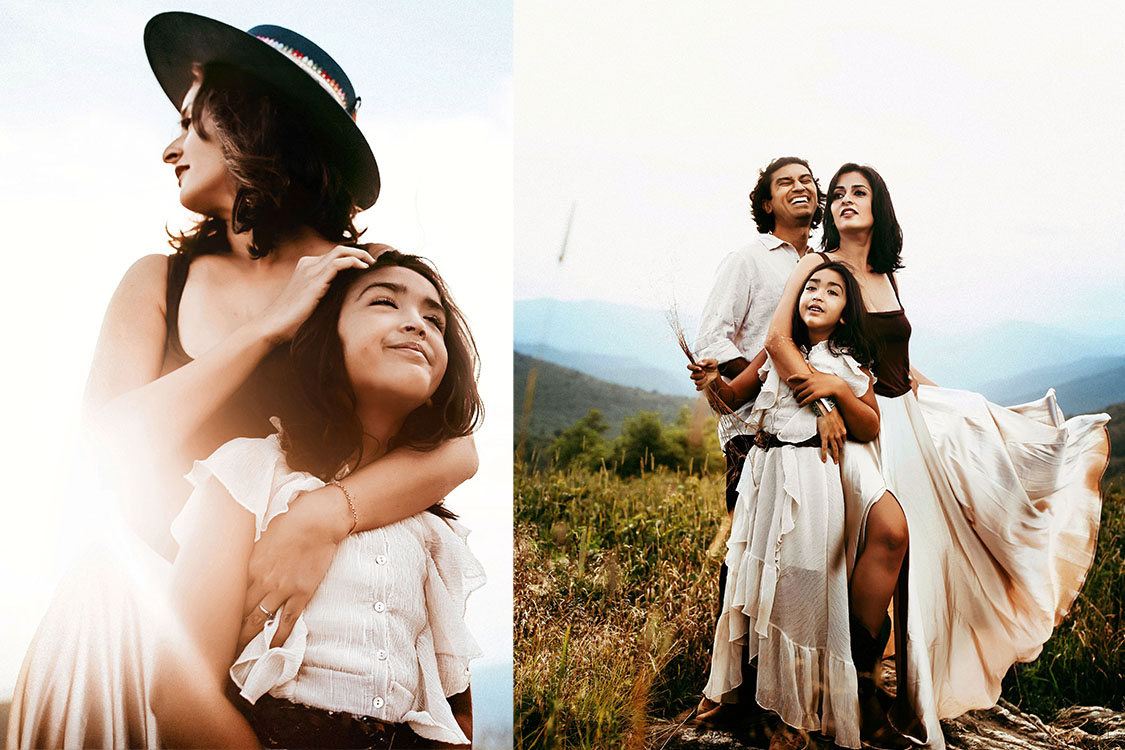
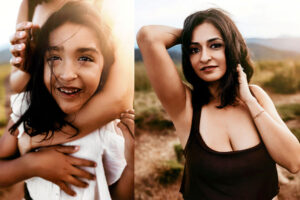
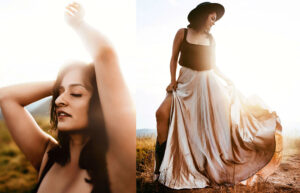
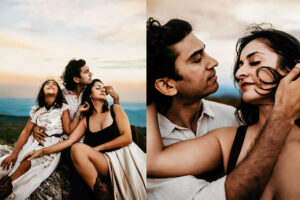
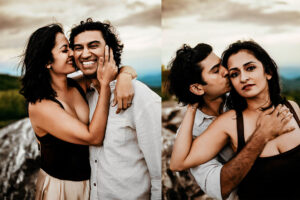
- The more you practice and try new things the more you are opening up your toolbox and skillset! If the light is still fairly bright- raising your aperture to 4.0 or higher also keeping in mind your Exposure and Shutter Speed – position your subject into the direct light. Of course this may be bright on their eyes if the sun is still a bit higher than you would like- but they don’t need to look directing into it, have them interacting as normal or looking to the left or right at another individual, their child or towards a mountain range to intensify the sky behind them and landscape. If this is closer to sunset keeping in mind your aperture, exposure and shutter ratio- this can show up this most true to life, with little editing as the colors are pure and skin tone is radiant in this lighting. Now when light is bending (as the sun is setting) you may need to desaturate in the HSL panel (mostly the orange and red tones) on the skin.
Making sure you have patience
- I get that this isn’t always possible, but if you have the opportunity then definitely wait it out for a bit. This also gives your subjects time to melt into the location. I mean sometimes all it takes is a few moments and the slight change in light will do wonders for your shots. This is why most photographers will shoot during sunrise or sunset. If there are clouds overhead, you could try waiting until some of them cover the sun. Just make sure you’re ready for when it does happen because you will have to act fast.
Use a filter
- Two filters could help you tame direct sunlight. The first is the neutral density filter. This filter reduces the amount of light getting into your camera. The other is the polarizing filter, which does the same thing. A polarizing filter can also reduce reflections and help you have more control over the colors in your photograph.
Go for the silhouettes
- This isn’t giving up. This is getting creative with what you’ve got. After all, silhouettes are very dramatic and mysterious so it’s not a bad way to get those interesting photos you wouldn’t normally think of taking. To take a silhouette, you will need to set your camera’s exposure to the brightest part of the scene; this should be your background, not your subject.
Get creative with your shadows
- Look for interesting shadows or pockets of light and use this to your advantage. Maye uses the sunbeams and shadows cast through a car’s window or shade from a building. Just lean into the possibilities, and you will be happy with the results.
Don’t be afraid
Challenge is good, change is good. We often shy away from them both because it makes us uncomfortable and whether we want to admit it or not we all are afraid of failure. As long as you are always open to new possibilities and new ways of doing things, then you will never fail. So change your mindset, be positive, and always remember where there’s a will there’s a way.
If you are looking for photographers in Asheville NC, I would be honored to share my experience with you. I am resident Family, Maternity and Newborn photographer. I offer a complete wardrobe of over 100 dresses including, newborn through Toddler sizes that you will have access to for your photography session. Check out the full Asheville Photography Experience along with the Investment Guide!
Are you ready to fine tune your style in photography and learn how to grow your business without pouring additional time into the process? Let me show you how to utilize key strategies in your technique and where to position your Brand to gain the ideal client for your specific niche! Check out my mentorship packages HERE. I am looking forward to supporting your career goals and your work/life balance!